10 Ways to Reduce Paper Clutter in Your Home
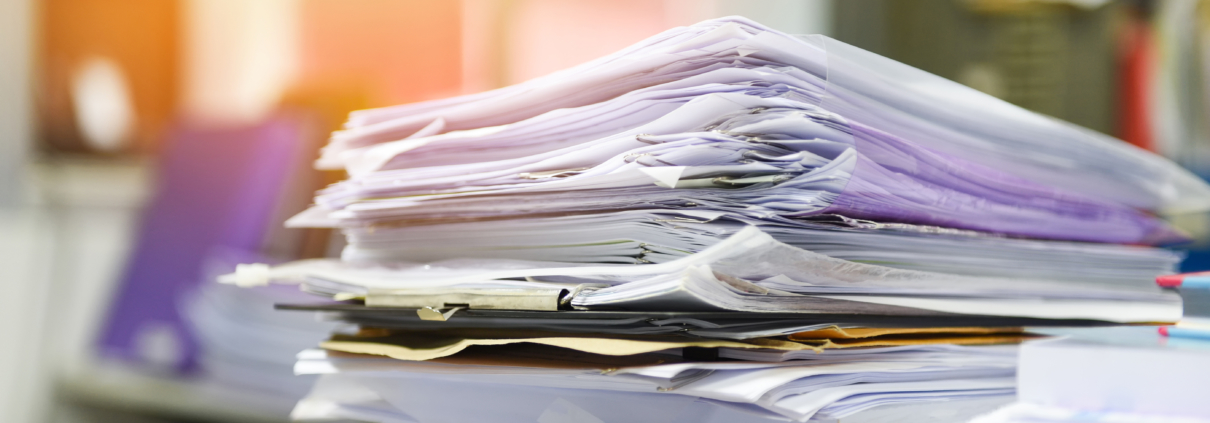
Do you ever feel like you are drowning in paper? Are there bills, receipts, reminders, invitations, coupons, statements, flyers, and cards cluttering up your space, causing overwhelm and stress?
Paper clutter occurs easily unless we create systems for managing it on a regular basis. As tax time is upon us, let’s not forget how important it is to plan ahead to avoid paper overwhelm – see tip # 10!
The good news is managing paper clutter is achievable and below are ten ways to effectively organize and store the paper items you need and get rid of the paper items you don’t.
-
Go Paperless with Statements and Bills
The best way to have less paper is to not let it enter your home in the first place! Going paperless is an important first step in decluttering paper. Transfer all your bills, statements and payments online. Even better, pay everything online, which helps timeliness and budgeting. The bonus of this is you will no longer need envelopes and stamps or trips to the mailbox.
-
Purge your Paper
To begin, gather up ALL the paper in your home. Look in wallets, purses, bags, boxes, drawers, closets, cabinets and cars. Next, sort all papers into four piles: Recycle, Scan, Shred, or Save. Scan important tax, medical files, insurance and property documents onto your computer for safekeeping or create a file folder for key pieces of information. For memorabilia items (photos, cards, tickets stubs, etc.), put them into a labelled clear box/bin and then recycle or shred everything else.
-
Recycle your Magazines and Newspapers
How many old magazines and newspapers are taking up space in your home waiting for that “one day” when you’ll re-read them? As this is an unlikely scenario, it may be time to recycle or donate them to a good cause. Artists and teachers often like magazines with pictures for their projects – the key is to get them out of your home soon to avoid any lingering donate piles! While you’re at it, unsubscribe from all the magazines you’re no longer interested in.
-
Create a Filing System
There as many different filing systems to choose from, but the best ones seem to have these characteristics: they are spacious and easy to access and figure out. The key is to decide which space you will be using before buying anything. For an open desk, metal rails for hanging folders work well. In a closet, portable file bins work well, and if you need to see your files, a desk organizer works well. Whatever you decide, consider using as much vertical space as you can.
The next step is to take inventory of your life through creating categories. Give big categories like Career, Medical, Car, Pet, House, Kids, etc. a big folder. You can add sub-categories to them as you go. If colour coding helps, choose certain colours for specific categories and consider using painter’s tape instead of labels at first, as it gives you more flexibility when adding/changing items.
-
Keep a Recycling Bag by your Front Entrance
By having a place to recycle by your front entrance, you can avoid bringing unwanted paper into your home. Worried about the visual impact? Keep a reusable bag hanging in the hall closet. Whenever you leave home, grab the bag and recycle your unwanted paper! You may also want to put up a sign indicating “No flyers” outside your front door to prevent unwanted paper clutter.
-
Create an “Action” Area for Key Papers
We often have paper items that require us to act, often by a certain deadline. Put all those papers – RSVPs, bills, sign-up forms — in one spot. They could be clipped onto a big message board, kept in an “inbox” tray, or mail organizer or placed in a basket by the entrance. Whichever you choose, make sure to deal with it daily or bi-weekly. Otherwise, it will just become another pile of paper clutter.
-
Use a Calendar
By adding your important events to a calendar system, you avoid having to keep the actual paper flyers, invitations, etc. A digital calendar works well, however, if you want a non-tech version, get a desk or wall calendar. Each time you get a piece of paper with event information on it, put it into the calendar and recycle the paper.
-
Showcase Photos and Memorabilia
If you have sentimental photos or memorabilia stored under your bed, in your closet or in a box, consider choosing your favourites to showcase. Photos and paper items can be framed or put into an album or memory box. They can also be scanned and made into a photo book. Often, people feel overwhelmed by their photos so hiring a professional organizer can help you enjoy your memories now!
-
Store Paper Items in the Right Places
The key to creating effective organizing systems is deciding what goes where and ensuring things get put back in their place. For everyday papers, a go-to spot that is easy to see and act on is key. Sentimental items can be displayed in nice boxes or frames on bookshelves and bookcases; coupons can be kept in a binder; office supplies (notebooks, folders, stickies, printer paper) can be kept in clear labelled containers; and recipes can be kept in a binder in the kitchen.
-
Prepare for Tax Time
Investing time and energy into creating a system for tax-related paperwork pays off in the long run. Using a binder, labelled accordion file folder or box, label and clip all your receipts by category and keep them in one place for that tax year. When it’s time to submit your tax return, all your papers will be in one place ready to be reviewed. Once your return is complete, shred the documents you are no longer required to keep. In Canada, this is 6 years, so once your 2019 return is complete, shred the contents in your 2013 folder.
The next time you find yourself feeling overwhelmed about the accumulation of paper in your home, review these ten tips and know that if you need support to reduce paper clutter, we are here to help! Contact The Simply Home Downsizing Team at 416-819-1576 www.simplyhomeinc.ca

